

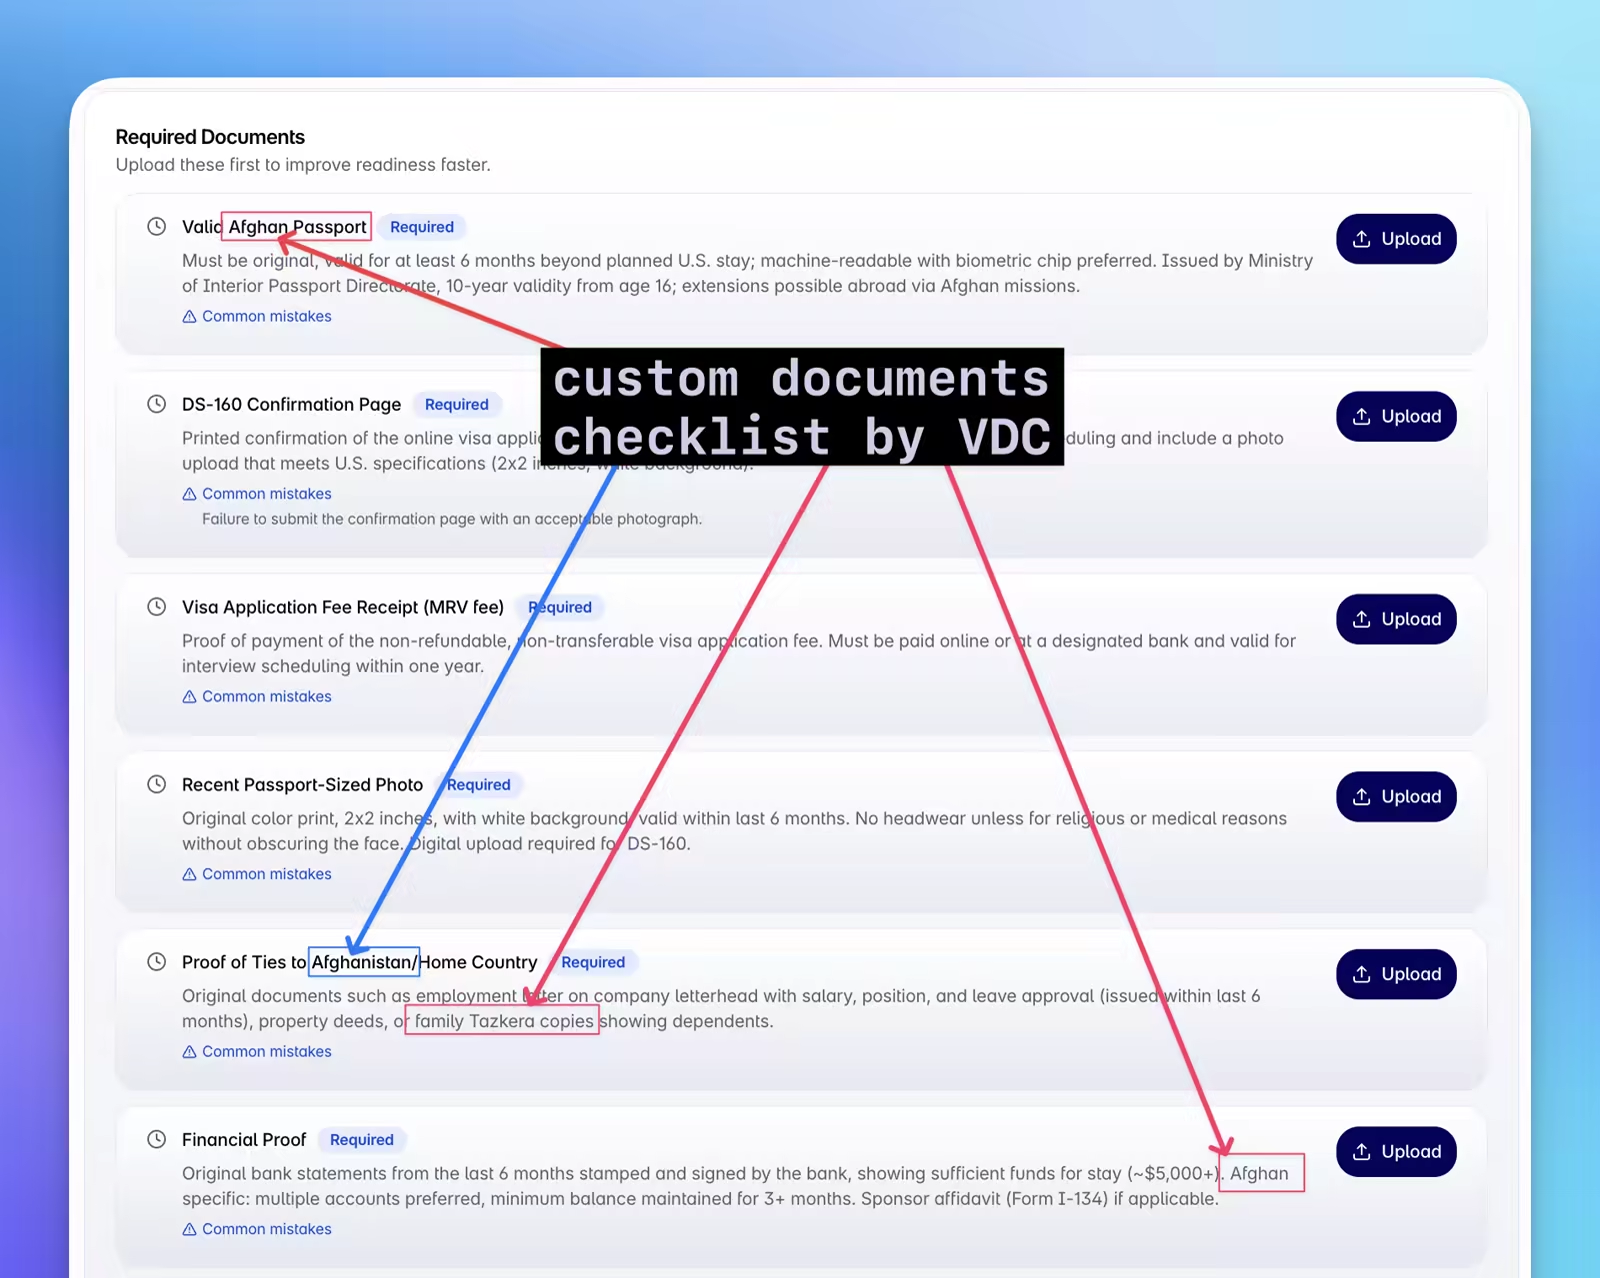

If you are searching for visa application documents, start with the direct answer: a strong file usually needs a valid passport, the correct application form or route record, financial evidence, travel-purpose proof, and enough home-tie evidence to show why the trip is temporary. Across current official visitor guidance from the U.S. Department of State, GOV.UK supporting-document rules, Canada.ca visitor visa pages, Australia’s Department of Home Affairs visitor guidance, and the European Commission’s Schengen visa page, the recurring test is not “Did you upload some PDFs?” It is “Do identity, purpose, funding, and return-home logic hold together?”
This guide is for applicants who already know they need a visa, but want to prepare the document pack correctly before submission. Use it to build the right checklist first, gather the core evidence most routes ask for, review each document on its own, and then run a full cross-document check before you submit.
At a glance
- Build the embassy- and route-specific checklist first, then gather the evidence in that order.
- Review each document on its own for completeness, then cross-check the full pack for date and story mismatches.
- The most refusal-prone files are usually inconsistent, not completely empty.
- Before submitting, verify identity, financial proof, travel evidence, and return-home ties as one connected package.
If you are still deciding how the document pack changes between the US, UK, Schengen, Canada, and Australia, this broader documents required for visa applications guide is the quickest route-by-route comparison before you narrow down to one checklist. If the trip is specifically a short-stay holiday or family visit, this documents required for tourist visa guide is the faster cross-country filter before you commit to one embassy checklist.
Visa application documents at a glance
| Document group | What to verify first | Why it matters |
|---|---|---|
| Identity | Passport validity, form accuracy, and photo rules | Basic eligibility and identity checks start here |
| Financial proof | Statement period, balance pattern, and source of funds | Officers test whether the trip is believable and affordable |
| Employment or study proof | Role, salary, leave dates, and expected return | Supports both funding and return-home ties |
| Travel evidence | Itinerary, accommodation, and insurance dates | Must line up with the application and each other |
| Home ties | Property, family, work, or ongoing commitments | Helps show the trip is temporary |
Key takeaways
Use this guide to verify the route, evidence, and next action before you finalize the file. Visa documents should be prepared as one consistent evidence story, with filenames, dates, translations, and financial records aligned before submission.
Table of Contents
- What consular officers are actually looking at
- Step 1: Build the right checklist for your visa type and embassy
- Step 2: Gather the core documents most applications require
- Step 3: Review each document on its own
- Step 4: Cross-check the full package
- Step 5: Check the embassy-specific rules one more time
- Using AI to review your application
- Official sources
- FAQ
- Conclusion
What consular officers are actually looking at
Understanding the review process changes how you prepare your documents.
When a consular officer looks at an application, they are usually trying to answer three questions:
- Eligibility: Do you meet the formal requirements, such as passport validity, the right visa category, and the minimum financial threshold?
- Intent: Does the reason for your trip make sense, and do your documents support it?
- Return likelihood: Is there enough evidence that you will leave before your allowed stay expires?
That is why a checklist alone is not enough. The file has to hold together.
Step 1: Build the right checklist for your visa type and embassy
Generic document lists are useful, but they are not the final answer. Requirements can change based on:
- Visa type: A B1/B2 tourist visa and an F-1 student visa require very different documents, even for the same country.
- Your nationality: Some applicants face extra scrutiny or need to provide documents others are not asked for.
- The embassy or consulate: Two embassies processing the same visa category may still ask for different formats or supporting records.
Before you start gathering documents, make sure you know exactly where you are applying and what that office expects for your situation.
Use this route map to avoid building the wrong checklist:
- Canada
- Use Canada visitor visa checklist when you need the practical IRCC upload order for a normal visitor file.
- Use documents required for a Canada tourist visa when the trip is specifically tourism rather than a family visit or business travel.
- Use invitation letter for visitor visa Canada when someone in Canada is hosting the trip.
- Use documents required for spouse visa Canada when the route is family sponsorship for permanent residence rather than a temporary visitor file.
- Schengen
- Use Schengen Visa Requirements Explained for 2026 Travelers when you need the current fee, insurance, and funds baseline before collecting evidence.
- United Kingdom
- Use Documents Required for UK Visitor Visa (2026 Checklist) for the main visitor-route document pack.
- Use invitation letter for UK visa when somebody in the UK is hosting you.
- Use Documents Required for UK Work Visa (2026 Checklist) instead of a visitor checklist for employer-sponsored cases.
- Use Documents Required for Student Visa UK (2026) and Proof of Funds for UK Student Visa: 2026 Rules for student-route files.
- Australia
- Use Australia Visitor Visa Checklist for 2026 for subclass 600 visitor files.
- Use documents required for Australian student visa for subclass 500 study files.
- Use invitation letter for Australian tourist visa when the trip depends on a host in Australia.
- Use cover letter for Australian tourist visa when the documents are ready but the applicant still needs a one-page explanation that matches the Home Affairs checklist.
Step 2: Gather the core documents most applications require
Across US, UK, Schengen, Canada, and Australia applications, these documents usually form the base of the file:
Identity documents
- Valid passport with enough validity beyond your intended departure date
- Passport-sized photos that match the destination country's exact requirements
- Completed visa application form for the destination country
For Canada routes in particular, do not let a studio default to the passport format. Use this Canada visa photo requirements guide to keep the visitor-visa size, head measurement, and biometrics rules straight before you print or upload anything.
For Australia routes, the confusing part is that the tourist-stream checklist asks for a recent passport-size photo, while the exact JPEG and paper-size rules live on separate government photo-guidance pages. Use this Australian tourist visa photo requirements guide before you book a studio or upload a file.
For China routes, the photo geometry is different again (48 mm × 33 mm with specific head measurement ranges). Use this Chinese visa photo requirements guide before you print or upload.
For South Korea routes, keep the embassy rule separate from K-ETA guidance. This Korean visa photo size guide breaks down the official 3.5 × 4.5 cm standard, the 6-month rule, and the e-form nuance that trips up otherwise solid applications.
For India routes, keep the e-Visa and regular mission stacks separate from the beginning. This Documents Needed for Indian Visa (2026 Guide) explains when the file is mostly a passport scan plus digital photo, and when you also need the printed form, passport copies, funds proof, and route-specific letters.
If you want a quick technical check before final upload, use the free visa tools for route-specific photo and format checks.
Financial documents
- Bank statements covering the past 3 to 6 months
- Payslips for the same period
- Income tax returns when required as proof of ongoing income
Employment documents
- Employment letter confirming your role, salary, approved leave dates, and expected return to work
- Employment contract if the embassy asks for it
Travel documents
- Flight reservation or itinerary showing intended travel dates
- Hotel bookings or accommodation confirmation for the full stay
- Travel insurance that meets the destination country's minimum coverage rules
If you are not sure whether your route wants a paid ticket, a simple reservation, or a broader travel-plan document, use this flight itinerary for visa guide before you book anything non-refundable.
Ties to home country
- Property ownership records or a lease agreement
- Family registration documents if relevant
- Proof of ongoing commitments that require your return, such as studies, business ownership, or dependent family members
Step 3: Review each document on its own
Before you worry about the whole package, make sure each document is doing its job.
Bank statements
- Cover the full required period, usually the 3 months before the application date
- Are signed or stamped if the embassy requires it
- Show your full name and account number clearly
- Do not include unexplained large deposits right before submission
If you want a tighter breakdown of what officers are trying to read from your statements, see Bank Statement for Visa: What Officers Check. For the route-by-route version of that same question, use the same finance hub before you narrow to a country-specific funds rule.
Employment letter
- Is recent enough for the embassy's rules
- States your exact role, start date, and salary
- Confirms leave for the same travel dates listed in your application
- Says you are expected back at work after the trip
- Is printed on company letterhead and signed by an authorized person
If your HR team tends to issue generic confirmation letters, read Employment Letter for Visa: Sample + Checklist before you request one, then pressure-test the final wording against that same sample. If your route is specifically a UK Standard Visitor case, use the stricter Employment Letter for UK Visa: Sample + UKVI Checks before you upload.
Travel insurance
- Covers the entire stay, not just the flight dates
- Meets the country's minimum coverage requirement
- Applies in every country you plan to visit
- Clearly includes emergency medical treatment and repatriation where required
Step 4: Cross-check the full package
This is the step many applicants skip, and it causes a surprising number of avoidable refusals.
Consular officers compare documents against each other. They check whether the details line up across the full set:
- The employer name in your employment letter against the employer name on your bank statement header
- The salary in your letter against the salary deposits in your account
- The travel dates in your application against your hotel and flight bookings
- The address in your application against your bank statement or utility bill
- The stated purpose of the trip against the documents you included to support it
Even a small mismatch, like a spelling difference in your employer's name, can lead to questions.
For concrete examples of these subtle inconsistency patterns, why visa applications get rejected is a helpful companion.
Before you submit, run a simple cross-reference check:
| Document A | Document B | Check |
|---|---|---|
| Employment letter (employer name) | Bank statement (header) | Do the names match exactly? |
| Employment letter (salary) | Bank statement (monthly deposits) | Are the amounts consistent? |
| Application form (travel dates) | Hotel bookings | Do the dates align? |
| Application form (address) | Utility bill or bank statement | Does the address match? |
| Application form (employer) | Employment letter | Is it the same employer? |
| Insurance policy (dates) | Application form (travel dates) | Does the policy cover the full stay? |
For a shorter pre-submission version of this review, see Why Visa Applications Get Rejected: 7 Document Mistakes. If somebody else is formally funding or sponsoring the case, Visa Sponsorship Letter: How to Write One (2026) helps you make sure the sponsor wording matches the rest of the package.
Step 5: Check the embassy-specific rules one more time
Once the package is ready, compare it with the requirements of the embassy or consulate where you will actually submit it.
Differences can include:
- Extra documents for first-time applicants
- Financial thresholds that differ by location
- Rules about originals, copies, or certified documents
- Online submission requirements versus in-person appointments
This final check matters because the same visa type can be handled slightly differently depending on the office.
Using AI to review your application
Reviewing your own file is harder than it sounds. You already know what each document is supposed to say, which makes it easy to miss gaps and inconsistencies.
An AI document reviewer can help by:
- Reading each document and extracting the important details
- Comparing those details across the full package
- Checking the file against embassy-specific requirements
- Flagging issues with a short explanation of why each one matters
If you want the technical side of why this approach works, Visa Rejection Risk Checker explains the difference between extraction and full-package risk detection.
Vidicy does this and returns a low, medium, or high risk score, along with a list of issues to fix before you submit.
For the same review flow in action, see how Vidicy works.
Related guides
If you're building the rest of the application pack, these companion guides help:
- Documents Required for Visa Applications in 2026
- Flight Itinerary for Visa: What Officials Need
- How to Fill DS-160: Step-by-Step Guide (2026)
- US Visa Checklist for 2026
- B1/B2 Visa Interview Questions: Best Answers (2026)
Official sources
Use the official source for your route before you finalize any document pack:
- European Commission: applying for a Schengen visa
- U.S. Department of State: visitor visa
- GOV.UK: supporting documents for visiting the UK
- Canada.ca: visitor visa (temporary resident visa)
- Australian Department of Home Affairs: applying for a visitor visa
FAQ
What visa application documents are usually required?
Most short-stay applications need a valid passport, application form, compliant photos, proof of funds, itinerary or accommodation evidence, and documents showing work, study, family, or other ties that bring you back home after the trip.
How many months of bank statements should I prepare?
Many embassies ask for three to six months, but the exact requirement depends on the route and the office handling the file. Use the official route guidance first, then make sure the statement period actually covers the period the embassy expects.
What is the most common mistake when preparing visa application documents?
The biggest mistake is treating each document separately instead of reviewing the file as one package. Names, dates, salary details, accommodation dates, and insurance coverage need to agree across the whole set.
When should I check embassy-specific rules?
Check them before you start collecting documents and again right before submission. That final pass catches local format, translation, upload, or timing rules that a generic visa checklist can miss.
Should I keep the original documents after I upload scans?
Yes. Many routes still require you to bring originals to an appointment or show them later if the officer asks. A clean digital upload set is not a substitute for keeping the original records available until the case is fully decided.
Conclusion
Preparing visa application documents is really a sequencing problem. First make sure the file is complete for your route. Then make sure the evidence is individually strong. Finally, make sure the full package agrees with itself. That last step is what turns a pile of papers into a credible application.
Requirements and processing procedures vary by embassy and can change over time. Check the official embassy website for the latest rules before you apply.