


If you need a practical DS-160 guide, start here: the form asks for your identity details, travel plans, work or school history, U.S. contact, background questions, and a compliant visa photo. Most DS-160 problems are not caused by the form being long. They happen when the answers do not match the passport, supporting documents, or the story you later give at interview.
This step-by-step guide is for U.S. tourist, business, and student visa applicants who want to fill the DS-160 once, save cleanly, and avoid preventable mistakes. Use it to gather the right information before you start, check the high-risk sections, and make sure the confirmation page and interview file line up.
If you want the route-level packing list before the form details, use our US visa checklist and then return here to make sure the DS-160 answers match the file you plan to carry.
At a glance
- Gather passport, travel details, work or school history, U.S. contact details, and a compliant photo before you start.
- Keep every DS-160 answer consistent with the documents you will carry to interview.
- The highest-risk fields are usually travel details, employment/school history, and photo upload.
- Save the application ID and confirmation page early so you do not lose the session trail.
DS-160 sections at a glance
| Section | What to prepare before you start | Why it matters |
|---|---|---|
| Personal information | Full legal name, date of birth, nationality, passport number, and any other names used | These fields must match the passport and civil records exactly. |
| Travel information | Intended purpose, planned dates, U.S. address, and contact details | Officers compare the DS-160 story with itinerary details and later interview answers. |
| Work or school history | Employer or school names, addresses, titles, and dates | Date or title mismatches create avoidable credibility issues. |
| Photo | A compliant digital visa photo that meets State Department photo rules | A non-compliant upload can block or delay submission. |
| Background and social media | Careful yes/no answers plus the relevant five-year account history where asked | Incomplete or careless answers can create administrative delays. |
The sections that cause the most rework are usually photo, travel, and employment history because those are the easiest places for sizing errors, date mismatches, and inconsistent trip details to show up later.
Table of Contents
- Step 1: Gather Required Information
- Step 2: Complete the Personal Details Section
- Step 3: Upload Your Photo and Review Answers
- Step 4: Pay the Fee and Schedule Your Interview
- FAQ
- Conclusion
Step 1: Gather Required Information
Before you even open the form, get everything you need. This saves time and cuts stress.
First, grab your passport. It must be valid for at least six months after your travel date. If the passport is old, renew it now.
Next, collect any work or school papers. The Work/Education/Training section gets much easier when you have exact employer names, addresses, job titles, and dates in front of you. Guessing later is how date mismatches get introduced.
Imagine you are a student heading to a U.S. university. You would need:
- School name
- Degree you plan to earn
- Dates of study
And a copy of your acceptance letter. Having these on hand means you won’t have to guess later.
Now think about travel plans. Write down:
- Why you are going (tourism, business, study)
- Exact dates you will stay
- Places you will visit
If you don’t know a U.S. contact, many applicants use a hotel or primary accommodation address. The important part is to use real contact information that matches the trip you are describing.
Don’t forget the fee receipt. The visa fee is paid after you submit the form, but you need a credit card ready.
Here’s a quick checklist you can print:
- Passport (photo page)
- Employment or school documents
- Travel itinerary or hotel reservation
- Digital photo (2x2 inches)
- Credit card for fee
- Social media usernames (last five years)
Why does this matter? The cleaner your prep is, the less likely you are to pause the form, restart sections, or carry a mismatch from the DS-160 into the interview.
One more tip: keep a folder on your computer with all PDFs. Name each file clearly, like "Passport.pdf" or "EmploymentLetter.pdf". When the DS‑160 asks for a piece of info, you can copy it fast. If you want a route-specific document list before you start typing, the US Visa Checklist for 2026: Documents + Interview can help you line up the form with the documents you plan to carry to the interview. For a packing-style B2 interview file list, use Documents Required for US Tourist Visa (B2). If you are applying on the student route, use the F1 visa checklist to line up your I-20, SEVIS receipt, and post-approval travel packet before you start.
When you feel ready, go to the official site. The form lives at the Consular Electronic Application Center. DS‑160 FAQs page explains the browser requirements. Use Chrome 58+ or Firefox.
After you start the form, you will get a barcode. Save that page, you will need it to schedule the interview.
And remember, the Employment Letter for Visa: Sample + Checklist is a key piece if you are applying for a work or business visa. The letter should list your role, salary, and approved leave dates. Align it with the dates you put in the DS‑160 to avoid the mismatched-dates mistake.
Finally, double‑check the list. If anything is missing, get it now. A complete file makes the whole process smoother.
Step 2: Complete the Personal Details Section
Now you open the DS‑160 and land on the Personal Information page. This is where you type your name, birth date, and passport number.
Start with your full legal name. Use the exact spelling that appears on your passport. A tiny typo can cause the system to flag your file.
Next, enter your date of birth. The form wants month‑day‑year. Write it as 01‑15‑1990, not 15‑01‑1990. This matches the U.S. format.
Then choose your nationality from the drop‑down. If you hold more than one, pick the one on your passport.
Marital status is next. If you are single, choose single. If you are married, you will later have to list your spouse’s details. Read each line carefully rather than trying to rush through the page.
Here’s a short step‑by‑step:
- Copy name exactly from passport.
- Enter birth date in MM‑DD‑YYYY.
- Select nationality.
- Pick marital status.
- Type passport number, exactly as shown.
Why copy each field? Because the form does not auto‑correct. A wrong digit in the passport number will cause a rejection later.
Now think about the “Other Names Used” field. If you ever used a nickname, list it. If not, leave it blank. Leaving it blank is fine, the form will not penalize you.
After you finish, the page will ask you to confirm. Click "Yes" only if everything matches your documents.
One real‑world example: Maya, a student from India, typed "Maya Singh" instead of "Maya K. Singh". The embassy saw a mismatch with her passport and asked her to re‑submit. She lost a week.
To avoid that, keep your passport open side by side while you type.
Pro tip: use the copy‑paste function for the passport number. It reduces typos.
When you are done, the system will save your answers and give you a confirmation number.
Make sure you write down that number. You will need it for the fee payment later.
Now, a quick video walk‑through can help. Watch the guide here: Video guide on personal details. It shows the exact fields you will see.
After watching, go back to the form and fill the fields again. Repetition builds confidence.
Remember, the form will ask you to upload a photo later. Do not skip the photo tip in the next step.
Finally, click "Save and Continue". The system will lock in your answers and move you to the next section.
Step 3: Upload Your Photo and Review Answers
The photo part is the most fragile. A bad photo can shut down the whole DS‑160.
The rules say the picture must be color, 2 x 2 inches, taken within the last six months. The background must be plain white. If you want the full measurement breakdown, see US visa photo requirements (2026): size, rules, upload.
Here’s a quick test: take a selfie in a bright room, no glasses, no hat. Then upload it. The system will tell you if it meets the specs.
If it says "photo does not meet requirements", crop and resize it against the State Department photo rules before trying again.
Why does this matter? One bad image can force a rework before you even get to the interview stage.
Pro tip: before you even take the picture, set your phone camera to 600 x 600 pixels. That matches the 2 x 2 inch requirement at 300 dpi.
Now, after the photo, you can review all answers. The form gives a summary page. Look for any red flags.
Common mistake: answering a Yes/No question incorrectly in Security and Background. Read each line carefully and double-check before you submit.
Step‑by‑step review:
- Open the "Review" page.
- Check each section header.
- Click "Edit" if anything looks off.
- Confirm the final page.
When you are happy, click "Submit". You will see a barcode page. Print that page or save it as PDF. A short guided review in Vidicy is useful here because it can flag inconsistencies between the DS‑160 details and the supporting documents you plan to take to the interview.
If you want a deeper consistency pass before interview day, why visa applications get rejected breaks down the mismatch patterns consular officers notice first.
Now you are ready for the fee.
External resources can help you fine‑tune the photo. The official photo FAQ page has examples of good and bad photos.
Another useful link is the DS‑160 FAQs, which explains what to do if the system rejects your picture.
After you pass the photo check, you can move on to the fee.
Step 4: Pay the Fee and Schedule Your Interview
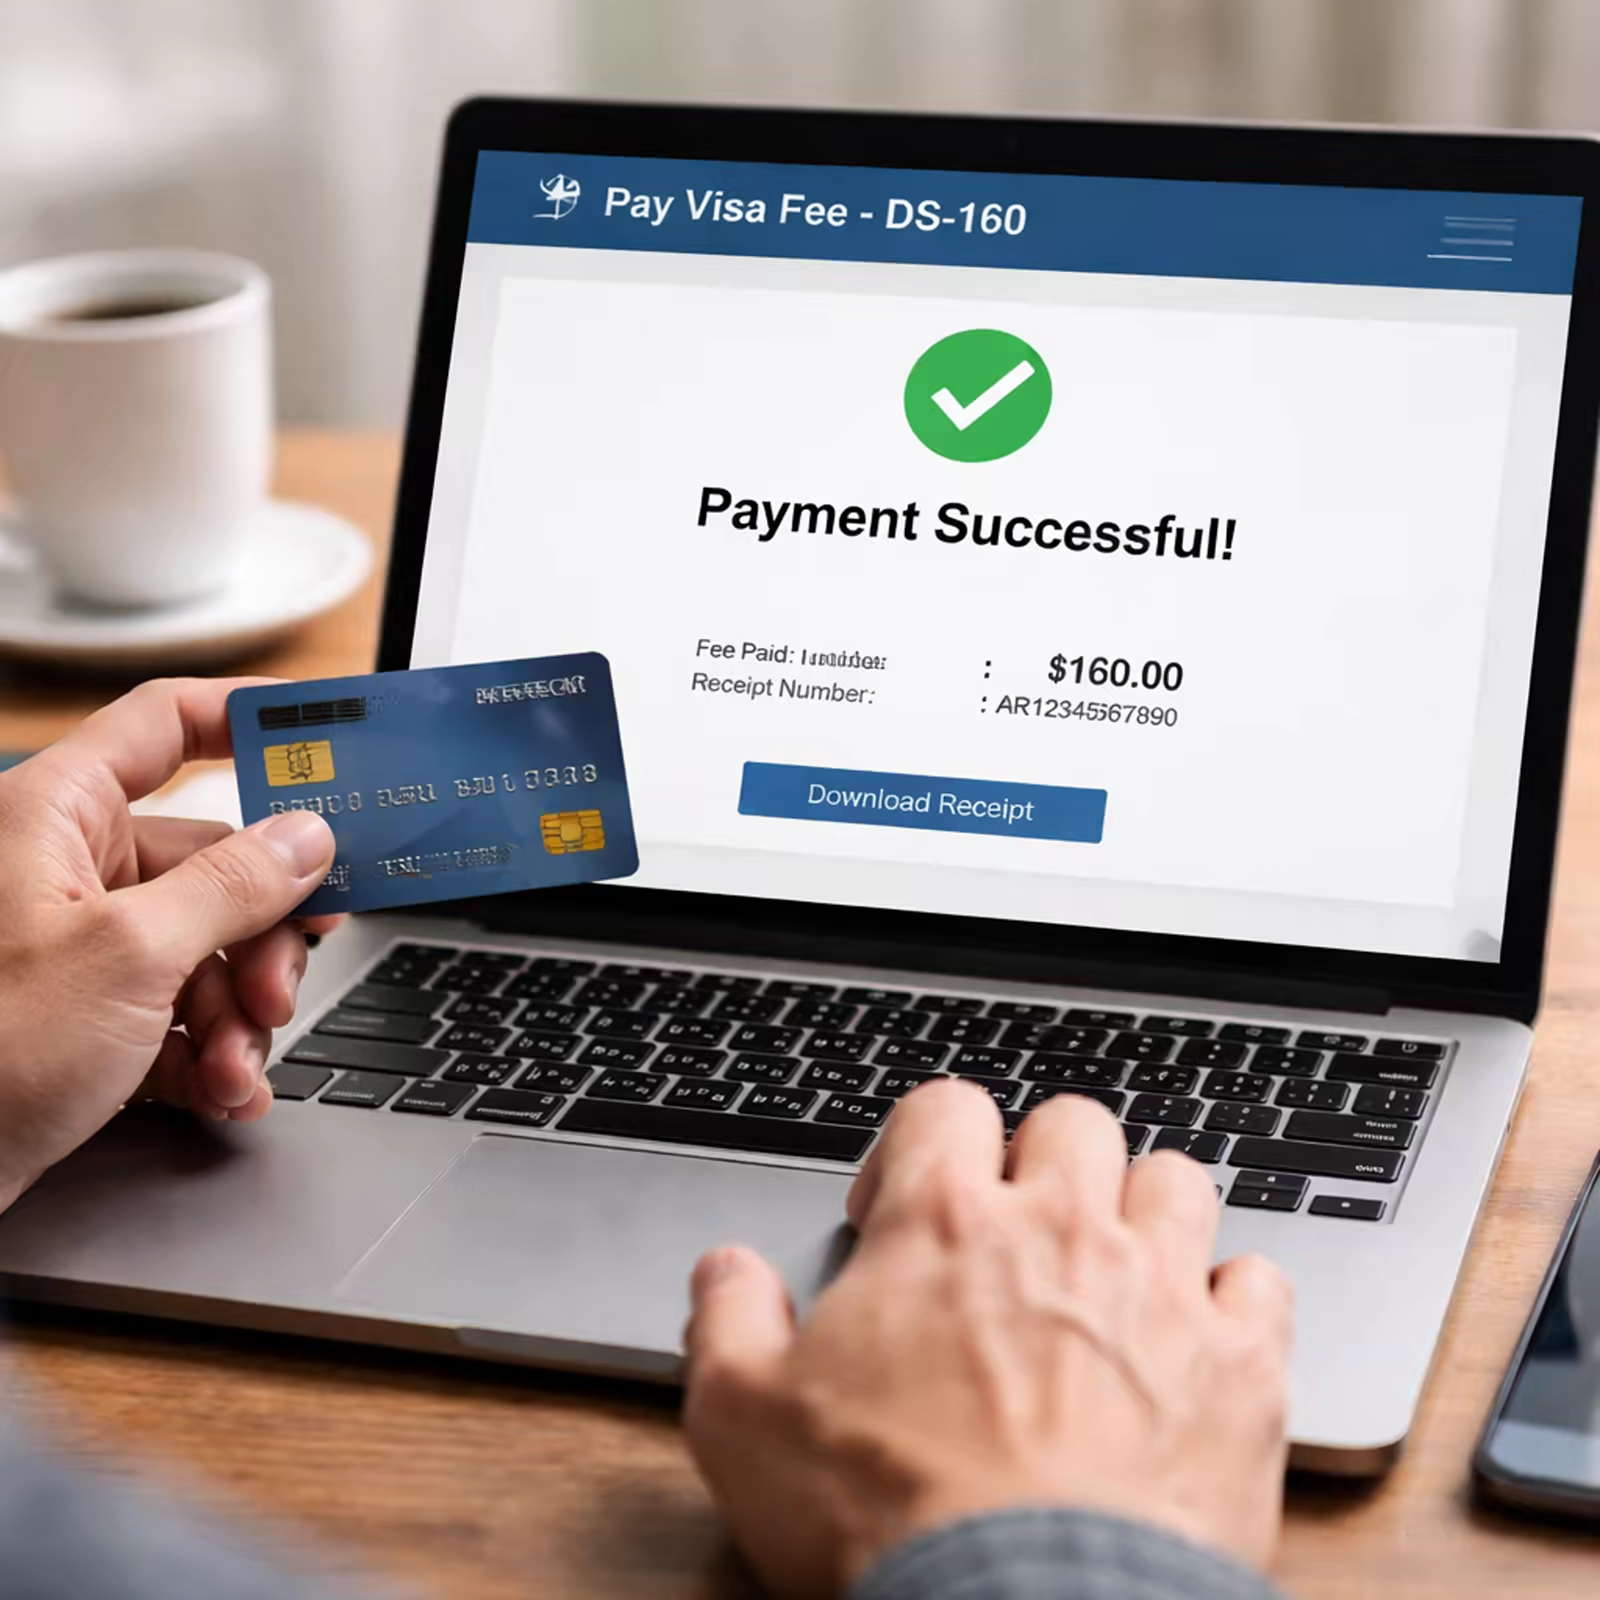
The U.S. nonimmigrant visa application fee is currently $185 for most visitor classifications. Depending on your nationality, a separate visa issuance (reciprocity) fee may also apply after approval, so check the State Department fee page and the embassy instructions for your country before you pay.
Log in to the CEAC portal with your barcode number. The portal will show a "Pay Fee" button.
Enter your card details. The site uses encryption, so your data stays safe.
When the payment goes through, you will see a receipt. Save it. You will need the receipt number when you book the interview.
Now it’s time to schedule the interview. Go to the U.S. Embassy or Consulate website for your country. Look for the "Schedule Appointment" link.
Pick a date that matches your travel plan and keep the dates consistent with the trip details you entered on the DS-160.
Enter the receipt number when prompted. The system will confirm your appointment.
Pro tip: book the earliest slot that works for you. Slots fill up fast, especially in peak seasons.
One example: Carlos, a freelancer from Brazil, paid his fee and booked a slot two weeks later. He arrived in the U.S. on time for a conference. If he had waited longer, the next slot would have been months away.
After you schedule, you will get a confirmation email. Print that email and bring it to the embassy.
On the day of the interview, bring:
- Printed DS‑160 barcode page
- Passport
- Fee receipt
- Any supporting documents (employment letter, invitation letter, etc.)
Be early. Security checks can take time.
Lastly, review the embassy’s specific instructions. Some locations require additional forms.
When the interview is done, the officer will let you know if your visa is approved. If not, they may ask for extra info. That is why the earlier steps matter.
Related guides
If you're building the rest of the application pack, these companion guides help:
- US Visa Checklist for 2026
- B1/B2 Visa Interview Questions: Best Answers (2026)
- F1 Visa Interview Questions and Answers (2026 Guide)
- Visa Application Documents: How to Prepare Them
Official sources
FAQ
What documents do I need before I start the DS-160?
You need a valid passport, any employment or school letters, a travel itinerary or hotel booking, a digital photo that meets the 2 x 2 inch rule, a credit card for the fee, and a list of social media usernames from the last five years. Having all these lets you fill the form without pausing, which reduces errors when you learn how to fill DS‑160.
How do I avoid the common photo mistake?
Use a plain white background, no glasses, no hat, and a recent color photo. The picture must be 2 x 2 inches. Upload it and let the system check. If it fails, use an online resizing tool before re‑uploading. This step is the single biggest reason people fail how to fill DS‑160 correctly.
Can I save my DS-160 and finish later?
Yes. The form lets you save the application using a unique ID and a password you set. When you return, enter the ID and password, then continue. Just make sure you write down the ID, because you will need it to pay the fee later.
What if I enter the wrong answer in Security and Background?
Read each Yes/No question carefully. If you are unsure, check the official FAQ page. A wrong answer can cause a delay or a request for more info. Double‑check before you submit to keep your how to fill DS‑160 process smooth.
Do I need a U.S. point of contact?
If you know a friend or family member in the U.S., you can use them. If not, many applicants use a hotel or primary accommodation contact. Just be honest and use a real address and phone number that matches the trip you are describing.
How long does the whole process take?
Filling the form takes about 30-45 minutes if you have all documents ready. Paying the fee and scheduling the interview can add another hour. The embassy interview may be scheduled days to weeks later, depending on the location.
Conclusion
Getting a U.S. visa starts with a clean DS‑160. By gathering the right papers, typing personal details exactly, uploading a compliant photo, paying the current fee, and booking the interview, you cover the parts of the process you can directly control. Pay extra care to photo, travel, and work-history fields, keep your barcode page safe, and show up prepared for the interview.
If your U.S. trip depends on a host, pair this with How to Write an Invitation Letter for US Visa so your DS‑160 details and supporting letter stay consistent.
For interview rehearsal after the form is complete, use essential b1 b2 visa interview questions and how to answer them (2026 Guide) to align your spoken answers with the documents you prepared.
If you also want a document-by-document interview checklist tied to current official rules, use US Visa Checklist for 2026.
If you are applying for a U.S. student route, use F1 visa interview questions and answers (2026 Guide) to rehearse interview responses that match your I-20, SEVIS receipt, and DS-160 details.