

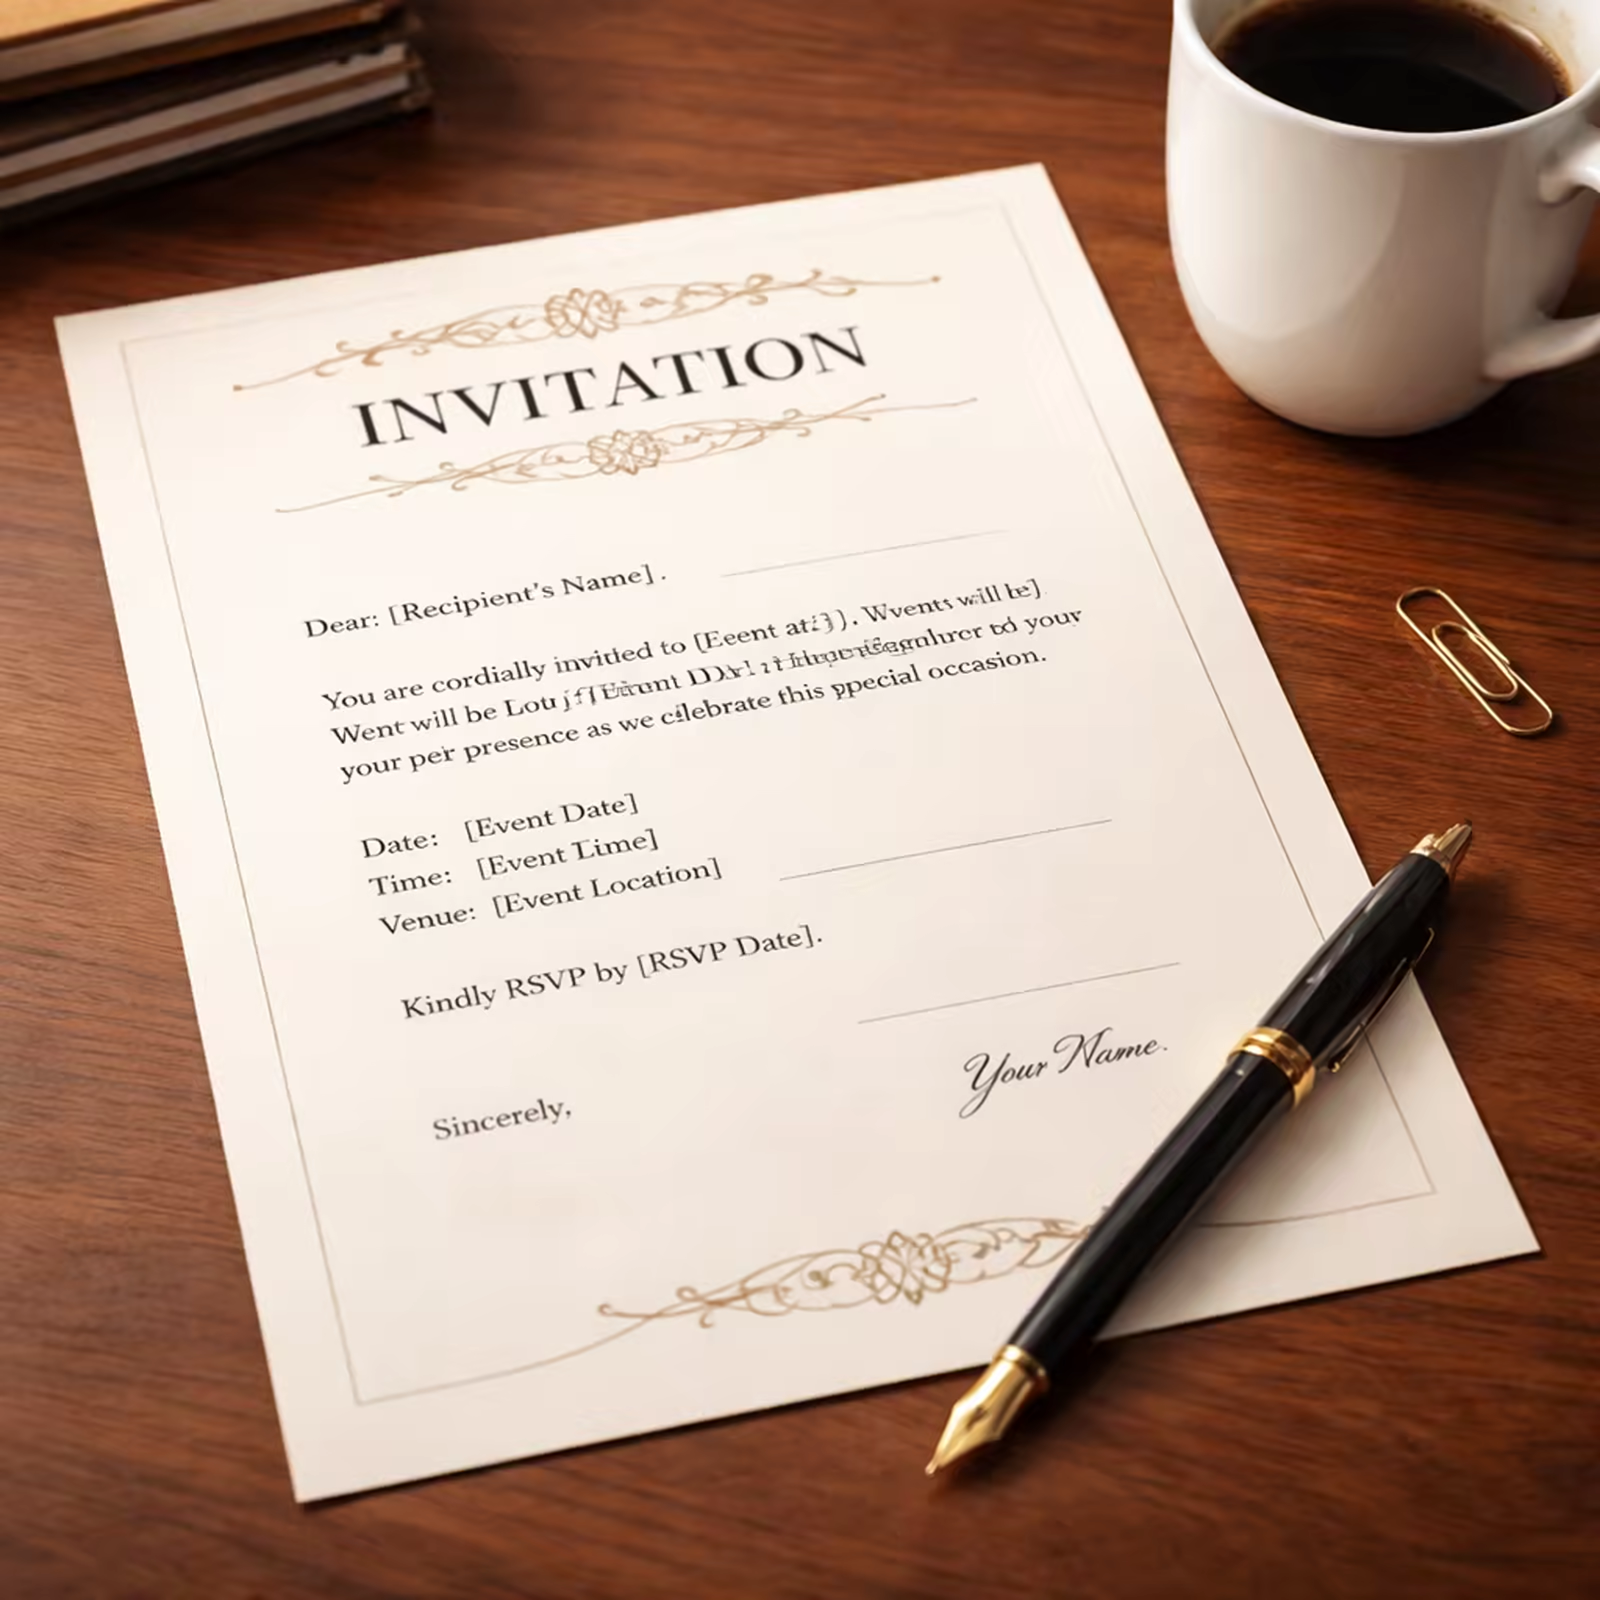

An invitation letter for US visa purposes is a supporting document that explains who is inviting the applicant, why the visit makes sense, where the applicant will stay, and who will pay for what. In most visitor cases, it is helpful but not mandatory. Its real job is to make the trip details easier for a consular officer to verify against the DS-160 and the rest of the file.
This guide is for hosts and applicants who want a clear invitation letter without overcomplicating it. Use it to gather the right details, write a letter that matches the travel plan, and avoid common gaps such as missing immigration status, unclear accommodation plans, or inconsistent dates.
If you want the cross-country version before you lock a U.S.-only template, read Invitation Letter for Visa: Country Rules + Sample. It shows where the U.S. approach is stricter, looser, or simply different from the UK, Canada, Australia, and Schengen practice. China is one of the clearest counterexamples: the current embassy instructions split family letters and business letters into separate annex formats, so use the dedicated Chinese visa invitation letter guide before you reuse a U.S.-style host note there.
If you need the broader host-support version of this question, not just the U.S. invitation format, use Sponsor Letter for Visa: Sample + Official Rules. It compares how the UK, Canada, Australia, and the U.S. treat sponsor letters before you reuse the wrong template.
Invitation letter for US visa: what to include
| Visa Category | Required Fields | Supporting Documents | Notarization Required | Common Mistake | Best For | Source |
|---|---|---|---|---|---|---|
| B-2 Tourist Visa | host full name, complete US address, phone number, email ID, immigration status, relationship to applicant, purpose of visit, proposed travel dates, guest accommodation details, expense coverage statement, brief itinerary, request for visa, host signature, date | certificate of attendance letter, bank statement, evidence of strong ties | Optional | Leaving out full address, contact information, or immigration status | Best for thorough host details | hio.harvard.edu |
| J-1 Exchange Visitor Visa | Date, Scholar’s Full Name, Mailing Address, City, Postal Code, Country, Position Title, Start Date, End Date, Description of Duties, Financial Support Amount, Insurance Coverage Details | Written documentation of financial support, Insurance documentation (health, repatriation, evacuation) | — | — | Best for financial & insurance proof | ucdenver.edu |
Notarization gets a lot of attention, but it is rarely the main issue. Clear host identity, relationship details, realistic travel dates, and an honest cost-coverage statement matter more in most visitor cases.
Table of Contents
- Step 1: Gather Sponsor and Applicant Details
- Step 2: Choose the Correct Letter Format and Tone
- Step 3: Draft the Core Content of the Letter
- Step 4: Add Supporting Documents and Proof of Relationship
- Step 5: Review, Edit, and Finalize the Letter
- Step 6: Sample Invitation Letter PDF and Printable Template
- Frequently Asked Questions
- Conclusion
Step 1: Gather Sponsor and Applicant Details
Before you type a single line, you need the right facts. The sponsor is the person living in the US. The applicant is the visitor who will apply for the visa.
The sponsor must collect their full legal name, US address (street, city, state, zip), phone number, email, and immigration status. Immigration status means whether they are a US citizen, green‑card holder, or hold a valid visa such as an F‑1 student visa. This info shows the consular officer that the host is legit.
The applicant’s details are just as important. Get their full name as it appears on the passport, date of birth, passport number, and current home address. If the applicant has a middle name, include it, the visa form asks for it.
Why do you need so many details? The officer will compare the letter to the DS‑160 form the applicant fills out. Any mismatch can raise a red flag and cause a delay. If you are still filling out the form, How to Fill DS‑160: Step‑by‑Step Guide for Your U.S. Visa Application covers the fields officers usually compare against the invitation letter.
Here are three quick tips to keep the data clean:
- Ask the applicant to copy‑paste their passport info verbatim.
- Double‑check the sponsor’s US address with a utility bill or lease.
- Write the phone number in international format (+1‑xxx‑xxx‑xxxx).
Many sponsors wonder if they need to send the letter directly to the consulate. The answer is no. The invitation letter goes with the applicant’s visa packet. The sponsor can email a PDF to the applicant, who prints it for the interview.
For official guidance on who can request an invitation letter, see the SIOP visa information page. It explains that only registered participants can generate a letter through the event system. If you’re not part of a conference, you can still write your own letter, just follow the steps below.
Another good source is the University of Arkansas sample letter. It lists the exact fields you should include, such as the sponsor’s school name and the applicant’s relationship. Check the Arkansas sample for a concrete layout.
If you want a personalized checklist before you send the packet, Vidicy can help line the invitation letter up with the rest of the application.
If the sponsor is using work proof to back up the invitation, the Employment Letter for Visa: Sample + Checklist guide explains what that document should cover.
Step 2: Choose the Correct Letter Format and Tone
Now that you have the facts, think about how to present them. The letter can be formal or semi‑formal, but it should always read like a real person wrote it.
Immigration officers expect a clear structure. Start with a header that lists the sponsor’s name and address. Then write a greeting, “Dear Consul” works fine. After that, use short paragraphs that each cover one idea.
The tone matters. If you’re inviting a parent, a warm tone is fine. If you’re inviting a business partner, keep it professional. The key is honesty. Don’t exaggerate the purpose of the trip.
Here’s a quick format checklist:
| Section | What to include |
|---|---|
| Header | Sponsor’s full name, US address, phone, email, immigration status |
| Opening | Purpose of the letter, applicant’s name, relationship |
| Details | Travel dates, itinerary, accommodation, financial support |
| Closing | Request for visa, sponsor’s signature, date |
Why use a table? It helps you see if you missed a required field. For a standard B-2 invitation letter, a checklist keeps the host identity, relationship, trip dates, accommodation, and expense details in one place.
Two external references can help you fine‑tune the format. The Immi‑USA tourist visa guide walks through each paragraph type. It also warns that a single wording mistake can cause a delay.
Read the same guide again for a second tip on tone. It suggests using “I am writing to invite…” instead of “I would like to invite…”. Small changes like this make the letter sound more certain.
Remember to keep the letter under one page. Consular officers read many letters, and a concise note is more likely to be read fully.
Step 3: Draft the Core Content of the Letter
With format and tone set, start writing. The core content is where you answer the officer’s main questions: Who is coming? Why are they coming? How will they be supported?
Begin with a clear statement of purpose. Example: “I am inviting my sister, Maria Lopez, to visit me in New York for a two‑week vacation.” This tells the officer the relationship and the length of stay.
Next, describe the itinerary. Even a simple list of activities helps. Mention a few landmarks, a family event, or a short trip to a nearby city. Missing itinerary details is an easy way to make the trip sound vague, so include at least three concrete items.
Then, cover financial support. If the sponsor will pay for housing, meals, or travel, say it outright. Use language like “I will cover all accommodation costs and provide daily meals.” If the applicant pays their own way, note that and attach bank statements.
Finally, close with a polite request. Write something like “I respectfully request that you grant my sister a B‑2 tourist visa for the dates listed.” End with the sponsor’s signature line.
To see a full example, visit the Immi‑USA tourist visa guide. It includes a sample that follows the exact structure described here.
The same site also lists common pitfalls, such as forgetting to state the sponsor’s immigration status. Make that detail explicit so the host’s legal status is easy to verify.
When you finish the draft, read it out loud. If any sentence sounds stiff, rewrite it in a more natural voice.
Step 4: Add Supporting Documents and Proof of Relationship
The invitation letter is only one piece of the puzzle. Supporting documents prove the claims you made in the letter.
First, include a copy of the sponsor’s US passport, green card, or visa stamp. This shows legal status. Second, add a utility bill or lease that matches the address in the letter. Third, attach the sponsor’s recent bank statement if they are covering expenses.
For the applicant, attach a copy of their passport and any proof that they will return home, such as a job letter, school enrollment, or property deed.
The State Department’s visitor‑visa page lists the exact documents you may need. See the official list for the most up‑to‑date guidance.
If you are proving a family relationship, a joint photo album or a birth certificate can help. The AI Lawyer family-or-friend support letter template shows how to write a short note that explains how you know each other and why you stay in touch.
Here’s a quick checklist of supporting files:
- Sponsor’s ID (passport, green card, or visa).
- Proof of address (utility bill, lease).
- Financial proof (bank statement, pay stub).
- Applicant’s passport copy.
- Evidence of ties to home country (employment letter, school enrollment).
- Relationship proof (photos, birth certificates, emails).
Once you have everything, name each file clearly, e.g., "Sponsor_Passport.pdf" and "Applicant_Passport.pdf". This helps the applicant keep the package tidy.
Remember, the letter itself usually does not need notarization for a standard visitor case. A signed letter with clear host identity and matching supporting documents matters more.
Step 5: Review, Edit, and Finalize the Letter
Before you send the file to the applicant, give it a final look. A clean letter makes a good impression.
First, check that every required field appears. Use the checklist above: host name, full US address, phone, email, immigration status, relationship, purpose, travel dates, accommodation, expense coverage, itinerary, visa request, signature, and date.
Second, run a spell‑check. Simple typos can look careless. Read each sentence out loud; if it sounds like you are reading a form, tighten it.
Third, verify that the dates in the letter match the dates on the applicant’s DS‑160 form. A mismatch can cause the officer to ask for clarification, which may delay the process.
Fourth, make sure the signature line is ready. If you are sending a PDF, you can add a scanned signature or type your name and note that a handwritten signature will be added later.
Fifth, confirm that the file format is accepted. Most consulates accept PDF or JPEG. PDF keeps the layout intact.
If you want one more pass before you email the PDF, Vidicy’s guided review can flag mismatched names, dates, or addresses across the letter and the supporting documents.
For a deeper dive on final‑check tips, the Atlys blog post lists common errors to avoid, like missing phone numbers.
The same Atlys guide also explains why a clear, neat layout helps the officer scan the letter quickly. They handle hundreds of applications each day.
When you are satisfied, save the file with a clear name, such as "Invitation_Letter_JohnDoe.pdf". Send the PDF to the applicant via secure email.
Step 6: Sample Invitation Letter PDF and Printable Template
Seeing a real example can make the process easier. University international‑office PDFs are helpful when available, but links often move, require on‑campus access, or return errors for some visitors—so we rely on stable public sources below.
The U.S. Department of State’s Visitor visa (B) overview explains what officers look for in short‑stay visits; use it as the factual checklist while you draft the letter.
Legal Templates offers a Word version that you can edit directly in a browser. It includes placeholders for dates, relationship details, and the sponsor’s signature, plus optional sections for business visitors—fill it out, print, and sign when you are ready.
Official sources
FAQ
What should I write in the opening paragraph of an invitation letter for us visa?
The opening should state who you are, where you live, and why you are writing. For example, “I am Jane Smith, a US permanent resident living at 123 Maple Street, Chicago, IL. I am writing to invite my brother, Carlos, to visit me for a two‑week vacation.” This sets the scene and tells the officer the relationship right away.
Do I need to notarize an invitation letter for us visa?
Notarization is usually optional for a visitor invitation letter. Most consulates accept a plain signed letter as long as the host details, travel story, and supporting documents are consistent. If you think a notarized copy adds credibility, you can get one, but it is not normally required.
How long should the invitation letter for us visa be?
Keep it to one page. Use short paragraphs and bullet points if you need to list several activities. A concise letter is easier for the officer to read and reduces the chance of missed details.
What if the applicant’s travel dates change after I send the letter?
You can issue a revised letter with the new dates. Attach a brief note explaining the change and keep the original copy for the record. Consular officers understand that plans can shift, as long as the explanation is clear.
Can I invite multiple people in one invitation letter for us visa?
Yes, but each visitor needs their own visa. List each person separately in the letter, giving their full name, passport number, and relationship to you. Provide separate supporting documents for each applicant, such as individual passport copies.
What supporting documents strengthen an invitation letter for us visa?
Key documents are the sponsor’s ID (passport or green card), a utility bill showing the address, recent bank statements if you cover costs, the applicant’s passport copy, and proof of ties to their home country (job letter, school enrollment, property deed). Adding a short itinerary also helps the officer see the trip is well‑planned.
Is an invitation letter required for a B‑2 tourist visa?
The US government does not require it, but it can improve the applicant’s chance. It shows a clear purpose, a place to stay, and financial support, all of which help the officer assess the intent to return home.
How do I sign an invitation letter for us visa if I’m sending a PDF?
You can print the PDF, sign it with a pen, then scan it back to PDF. Some people use a digital signature tool that adds a secure image of your signature. Either way, the signature must be legible and placed on the line provided.
Related guides
If you're building the rest of the application pack, these companion guides help:
- Documents Required for US Tourist Visa (B2) in 2026
- How to Fill DS-160: Step-by-Step Guide (2026)
- B1/B2 Visa Interview Questions: Best Answers (2026)
Conclusion
Writing an invitation letter for us visa does not have to be hard. Start by gathering every detail about the sponsor and the applicant. Choose a clear format, keep the tone honest, and follow the checklist above. Draft the core content with purpose, itinerary, and financial support. Add the right supporting documents, then give the whole package a careful review.
Remember that notarization is usually optional, and a well‑structured one‑page letter can be enough to give the consular officer confidence in the trip’s purpose. Use the sample sources above as formatting references, and always double-check that the dates match the DS-160 form.
If you follow these steps, you’ll give the applicant a solid chance of getting the visa.
Before submission, keep the US visa checklist open and verify that your invitation details match the DS-160 flow in this step-by-step DS-160 guide.