


A Schengen visa application is the short-stay process used when you want to visit the Schengen Area for tourism, business, family visits, or similar temporary purposes. In most cases, the process comes down to five steps: confirm the right country of application, collect the required documents, complete the form, attend the appointment, and show that your trip is funded, insured, and temporary.
This guide is for first-time travelers who want the full Schengen visa application process in one place. It covers the core documents, the standard short-stay rules, typical fees and timing, and the mistakes that most often turn a valid trip into a weak application.
Schengen visa application at a glance
| Step | What to confirm | Why it matters |
|---|---|---|
| Choose the correct country | Apply through the country where you will spend the most time or enter under the proper rule | Filing through the wrong country can lead to delays, re-routing, or refusal |
| Build the document set | Passport, form, itinerary, accommodation, insurance, funds, and return-tie evidence | Missing or inconsistent files weaken the case before the interview starts |
| Use the current form process | Complete the consulate or visa-centre workflow exactly as instructed | Handwritten or outdated forms create avoidable errors |
| Meet the insurance rule | Carry travel insurance that meets the Schengen minimum | Insurance is a baseline requirement for most short-stay cases |
| Apply early and consistently | Submit with realistic dates, clear purpose, and matching supporting proof | Early, well-matched files are easier for the consulate to assess |
Table of Contents
- Step 1: Determine Your Eligibility
- Step 2: Gather the Required Documents
- Step 3: Complete the Online Application Form
- Step 4: Book Your Appointment & Attend the Interview
- Understanding Schengen Visa Types
- Step 5: Track Your Application and Collect the Visa
- Common Reasons for Rejection and How to Avoid Them
- Official Sources
- Frequently Asked Questions
- Conclusion and Next Steps
Step 1: Determine Your Eligibility
The first thing you do is check if you need a short-stay Schengen visa. Non-EU nationals who want to stay up to 90 days in any 180-day window need a visa unless they are from a visa-free nationality.
Read the official policy at the European Commission to see the full list of countries and the rules that apply. EU Schengen visa policy overview explains who must apply and the 90‑day rule.
For a concise requirements snapshot before you start collecting files, Schengen Visa Requirements Explained for 2026 Travelers summarizes fees, insurance baselines, and daily-funds expectations.
If you’re looking for the “bring-this” version you can tick off as you gather files, use the Schengen Visa Checklist: Documents You Need in 2026 alongside this step-by-step guide.
If you are from a visa-free nationality, keep ETIAS on your radar but do not treat it as live yet. The European Commission’s current notice says ETIAS is not yet in operation and is expected to start in the last quarter of 2026.
Next, decide which country is your main destination. That’s the country where you’ll spend the most days, or if you split time evenly, it’s the first country you enter. Filing through the wrong country can delay or derail the application. How to choose the correct consulate gives a clear checklist.
Ask yourself these questions:
-
Do I plan to stay 90 days or less?
-
Will I travel to more than one Schengen country?
-
Which country will I be in the most?
If you answer yes to the first two and can pinpoint the main destination, you’re ready to move on.
Why does eligibility matter? The visa code sets the same rules for all 29 countries, but each embassy may ask for slightly different proof. Knowing the exact rule helps you collect the right evidence and avoid a surprise rejection.
Step 2: Gather the Required Documents
Now you need to build a file that proves you’re a genuine traveler. The consulate wants proof of identity, travel purpose, financial means, accommodation and insurance.
The European Commission’s Applying for a Schengen visa page lists the standard categories of evidence: passport, photos, itinerary, accommodation, funds, insurance, and documents that support the trip purpose. After you identify the main destination, use the booking portal or local checklist from the relevant consulate or visa centre for any city-specific extras.
If you want a scannable, “print-and-pack” version of those evidence categories, use the dedicated Schengen visa checklist before you start booking appointments.
If you want a deeper checklist that explains what each document is meant to prove (purpose, accommodation, funds, and return ties), use Documents Required for Schengen Visa (2026 Checklist).
If you want a route-specific baseline before you start collecting documents, Vidicy’s Schengen overview is a useful companion to the official checklist.
Here’s a step‑by‑step rundown:
- Passport: valid for at least three months beyond your planned departure from the Schengen area and issued within the previous 10 years.
- Photo: a recent passport-style photo that matches the local Schengen photo rules. If you want the exact ICAO-based baseline as a quick checklist, see Schengen visa photo requirements (2026): size, rules, examples.
- Travel itinerary: dates and route details that match the application.
- Proof of accommodation: hotel confirmations or a letter from a host. If Germany is your main destination and you are staying with family or friends, use this German invitation letter checklist to separate a normal host letter from a
Verpflichtungserklaerung. - Travel insurance: a certificate that clearly meets the Schengen medical rules. If you want the requirement-by-requirement breakdown, read Schengen visa travel insurance rules for 2026 before you buy the policy.
- Financial proof: recent bank statements or sponsor evidence where applicable. If you want the country-by-country version before you finalize the folder, use this proof of funds for Schengen visa guide.
- Employment letter: a detailed letter on company letterhead. Vidicy’s employment letter guide shows what to include.
If Germany is your actual main destination and you want the country-specific pack in one place, this documents required for German visa guide pulls the tourist and visitor checklist into one file.
Some consulates or visa centres ask for photocopies in addition to originals. Follow the local checklist for the city where you will submit.
Why these documents? Missing or incomplete paperwork is one of the easiest ways to weaken an otherwise valid trip. A strong file shows clear ties to your home country, enough money, and a safe trip plan.
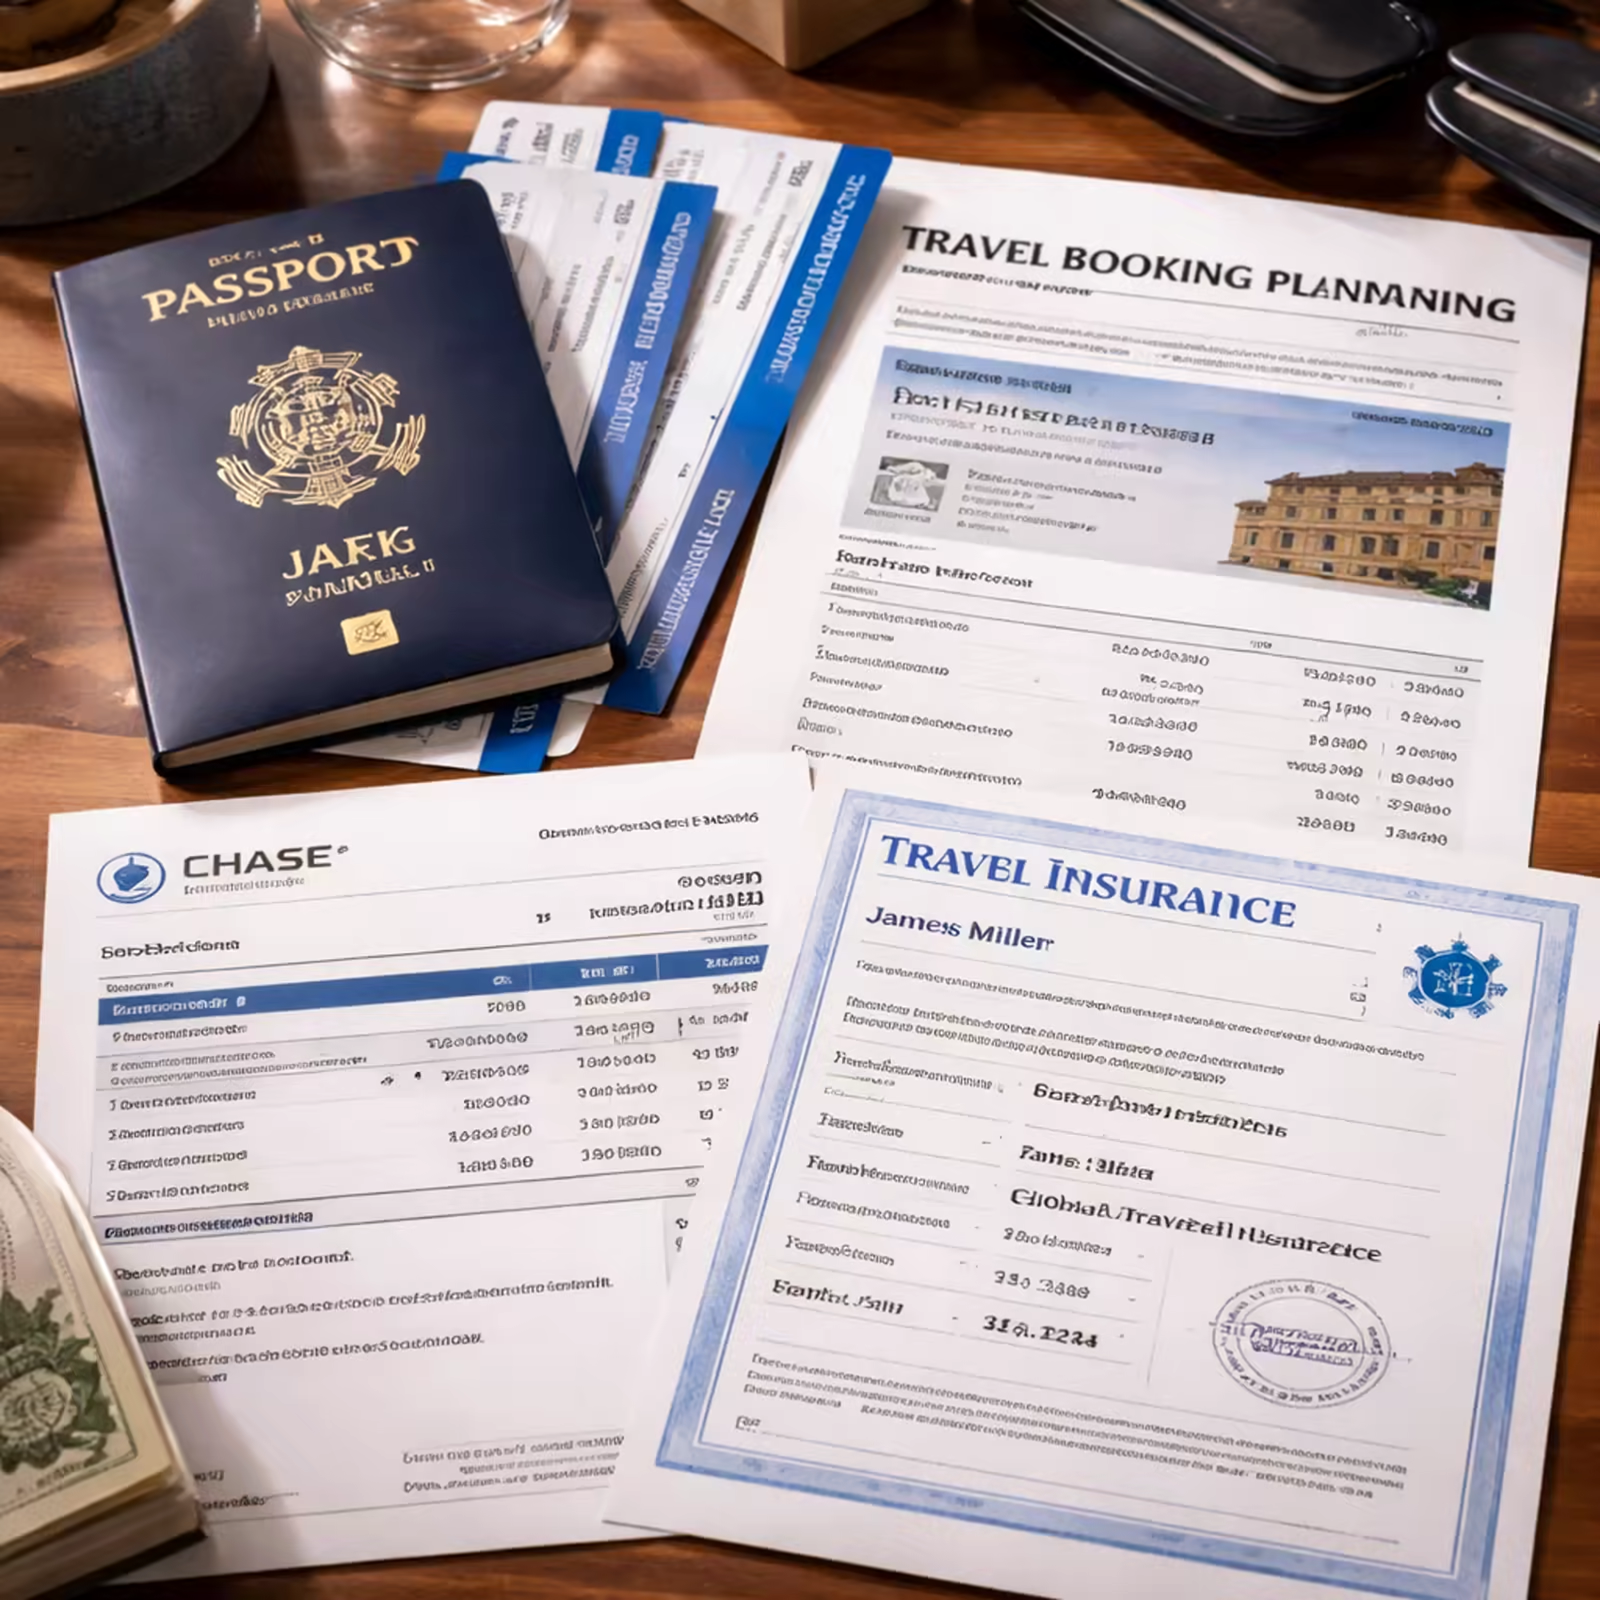
Tip: keep all items in a folder labeled “Schengen Visa Application”. When you walk into the VFS centre, you’ll be able to hand over the whole set in one go.
Step 3: Complete the Online Application Form
The online form is the first digital touchpoint. Fill it out on the official portal of the country you’re applying to. The form asks for personal details, travel dates, and purpose.
Here are the key fields you must complete accurately:
-
Full name , exactly as it appears on your passport.
-
Date of birth , use the DD/MM/YYYY format.
-
Passport number , copy it letter‑for‑letter.
-
Travel dates , make sure they match the flight reservations you uploaded.
-
Purpose of visit , choose “tourism”, “business”, or “family visit” as appropriate.
Common mistake: writing the date in MM/DD/YYYY. The form expects the European format, so double‑check before you submit.
After you finish, the system will generate a barcode. Print the page and bring it to your appointment. That barcode links your online data to the physical file you submit.
Step 4: Book Your Appointment & Attend the Interview
Booking the slot is a race against time, especially in peak season. Most Schengen countries use VFS Global or TLS Contact to manage appointments.
Start by visiting the official booking page used by the consulate or visa centre handling your destination.
When you find a slot, confirm it and pay the service charge online. Then gather every document from the previous step.
On the day of the interview, arrive 30 minutes early. Bring the printed barcode page, your passport, and the full document set.
During the interview, the officer may ask about your itinerary, ties to home, and financial means. Answer calmly, keep answers short, and stick to the facts you’ve already provided.
Each applicant must have their own biometric record. Some categories, such as younger children, may follow different fingerprint rules depending on the official policy for that route.
After the interview, the officer will give you a receipt with a tracking number. Keep it safe; you’ll need it later to check status.
Understanding Schengen Visa Types
Not all Schengen visas are the same. The short‑stay visa you’re applying for lets you travel for up to 90 days in a 180‑day period. There are three main categories.
Tourist visas are the most common. They’re for leisure trips, sightseeing, and short visits to friends or family.
Business visas cover meetings, conferences, or short‑term projects. You’ll need an invitation letter from the host company in the Schengen area.
Transit visas are for travelers who need to change flights in a Schengen airport but aren’t leaving the airport’s international zone. Only a few nationalities need this.
Each type shares the same basic document list, but the purpose‑specific letter (tourist itinerary vs. business invitation) is what sets them apart.
Why does this matter? If you apply for the wrong type, the consulate may ask for extra proof, which can delay the process. Choose the category that matches your travel plan exactly.
Step 5: Track Your Application and Collect the Visa
After the interview, you can usually track your file online through the consulate or visa-centre tracking system. Use the reference number on your receipt and follow the instructions you received at the appointment.
When the status changes to "ready for collection" or the equivalent local status, follow the pickup or courier instructions from your visa centre.
Keep an eye on the status during the standard 15-day processing window. If the case runs longer, the official rules allow an extension up to 45 calendar days in some circumstances.
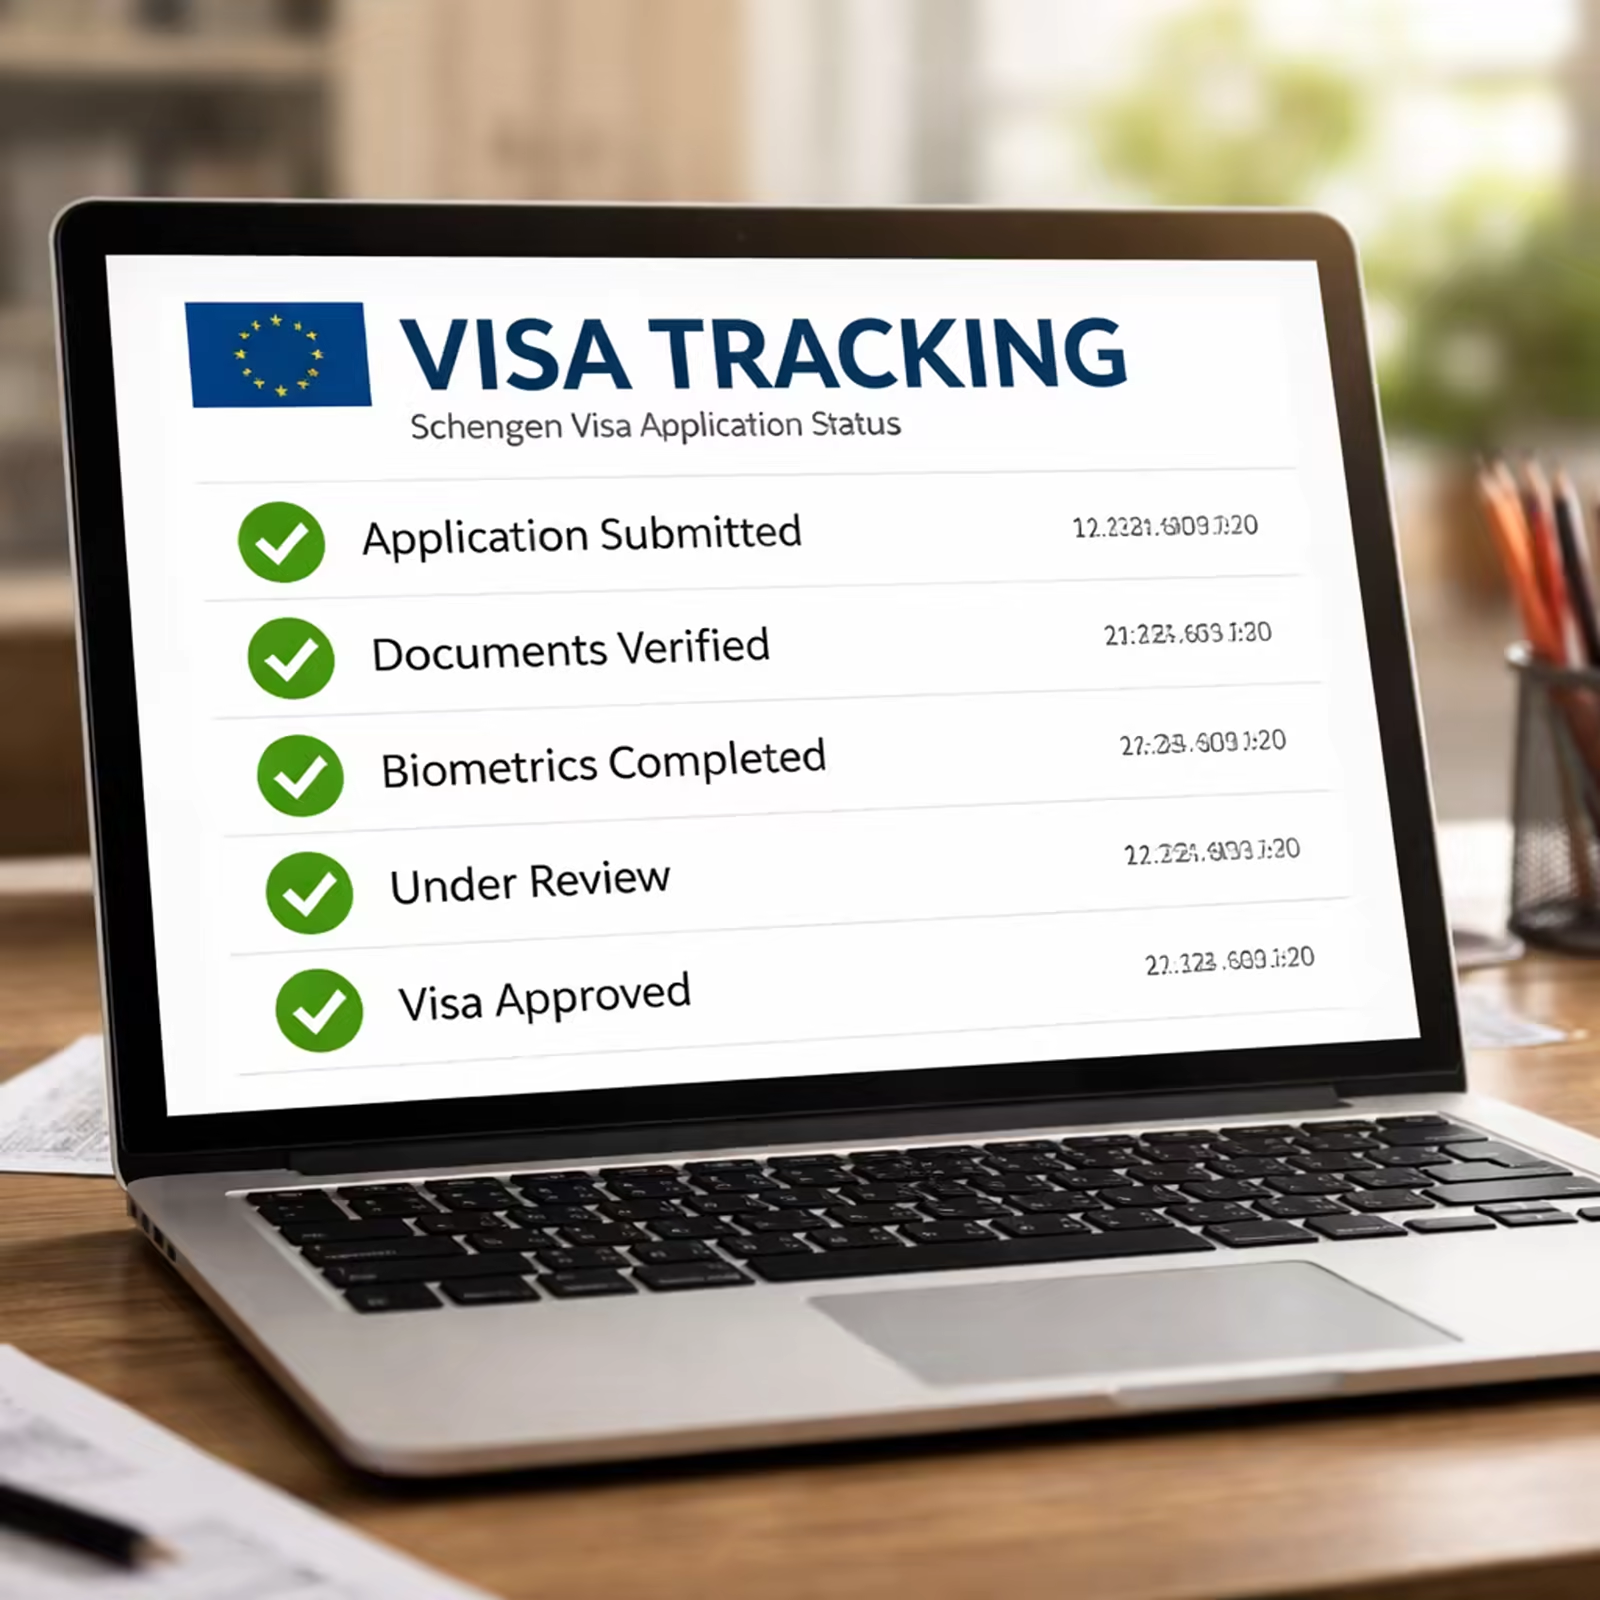
Tip: download the tracking receipt as a PDF. If the centre asks for proof of your appointment or submission, the receipt shows the exact reference details.
| Stage | What to expect |
|---|---|
| Received | Your file is logged and a barcode or reference number is created. |
| Processing | The consulate reviews documents and may ask for extra proof. |
| Ready for collection | The visa is printed and returned according to the pickup or courier instructions. |
Common Reasons for Rejection and How to Avoid Them
Even a perfect form can be turned down if the officer spots a red flag. Here are the top reasons and how to fix them.
-
Weak ties to home country: if you can’t prove you’ll return, the file looks weaker. Show a recent employment letter, property records, or family and study commitments where relevant.
-
Insufficient or unclear funds: the consulate checks whether your finances make sense for the trip and the local rules. Bank statements should cover the relevant period and show a believable funding story.
-
Incomplete documents: missing accommodation, insurance, or purpose evidence trips up the review. Use the local checklist and double-check each item.
-
Vague itinerary: a day-by-day plan with city names, addresses, and transport details strengthens your case.
-
Form mismatches: names, passport numbers, and dates must match the supporting documents.
-
Late application: applying close to departure leaves less room to answer follow-up requests or rebook appointments.
By addressing each of these points before you submit, you raise your approval odds dramatically.
If you want a shorter final review before your appointment, how to avoid visa rejection due to document mistakes works well as a quick pre-submission checklist.
If your file looks complete but still feels risky, why visa applications get rejected covers the cross-document issues officers flag most often.
Official sources
- European Commission: visa policy overview
- European Commission: applying for a Schengen visa
- European Commission: ETIAS notice
- European Commission: Schengen visa fee increased as of 11 June 2024
FAQ
How far in advance should I start my schengen visa application?
Start as early as you reasonably can once your documents are in shape. The official rule allows applications up to six months before travel, and the legal floor is 15 calendar days before departure. Earlier is usually safer because appointments and follow-up requests can take time.
Do I need travel insurance for a schengen visa application?
Yes. Your policy must meet the Schengen medical-insurance rule, including at least €30,000 in coverage and the required emergency medical and repatriation language. The safest way to compare products is to check the certificate wording against the official requirement rather than relying on one blog’s “best provider” list.
Can I apply online without visiting a consulate?
No. Even though the form is online, you still must book an appointment and attend a biometric interview in person. The biometric data , fingerprints and photo , can only be taken at a visa centre.
What if my passport expires during my trip?
The passport must be valid for at least three months after you leave the Schengen area and must have been issued within the previous 10 years. If it falls short on either requirement, you’ll need to renew it before you apply, otherwise the application will be rejected.
Is a single‑entry visa enough for a multi‑country tour?
Yes, as long as you stay within the 90‑day limit. A single‑entry visa lets you move freely between Schengen countries after you cross the first border. Just keep track of the total days you spend inside the zone.
What should I do if my application is rejected?
Read the rejection letter carefully. It will list the exact reason , missing document, insufficient funds, or unclear itinerary. Fix the issue, gather new proof, and reapply. You can also appeal the decision within 30 days, but most travelers find it easier to submit a new, stronger file.
Related guides
If you're building the rest of the application pack, these companion guides help:
- Schengen Visa Checklist: Documents You Need in 2026
- Documents Required for Schengen Visa (2026 Checklist)
- Schengen Visa Travel Insurance Rules for 2026
Conclusion
Getting a schengen visa application right is all about preparation. Check your eligibility, collect every document, fill the online form without mistakes, book the appointment early and attend the interview confident. Track the file online and pick up the visa as soon as it’s ready.
Remember the key baseline points: the short-stay rule is 90 days in any 180-day period, the standard fee is €90 for adults, the insurance floor is €30,000, and the standard processing target is 15 calendar days. Follow the step-by-step guide we’ve laid out, then cross-check the city-specific checklist before you submit.
If you want a second set of eyes before you submit, Vidicy can help you review the same file for missing items, weak evidence, and cross-document inconsistencies.
For photo-specific compliance before your appointment, run the Schengen photo requirements checker.
Ready to start? Pull out your passport, open the official form and begin the first step today. Safe travels!